The Hahn Climbing Wall
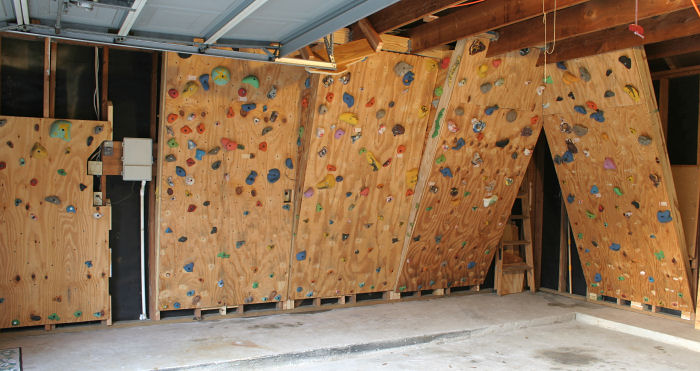
A Homebuilt Climbing Wall Located in Our Former Garage
Details
- Was located in our 2.5 car garage in Sugar Land (before our move to Colorado in 2022)
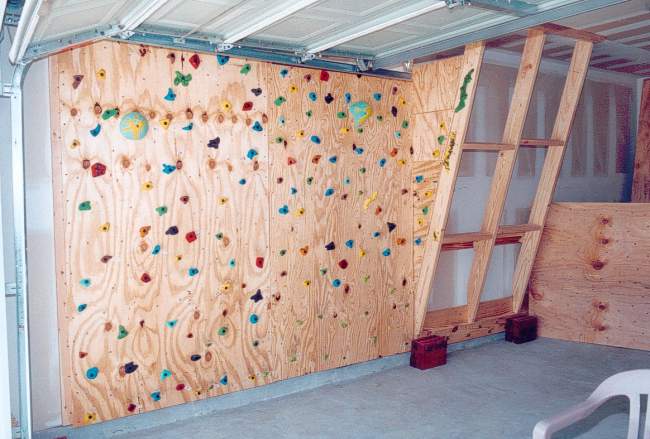
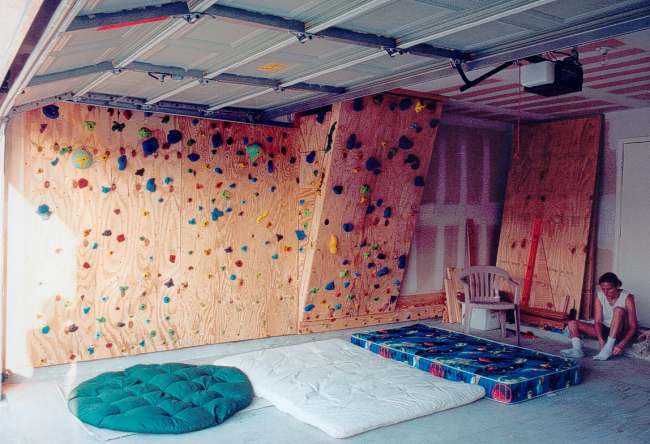
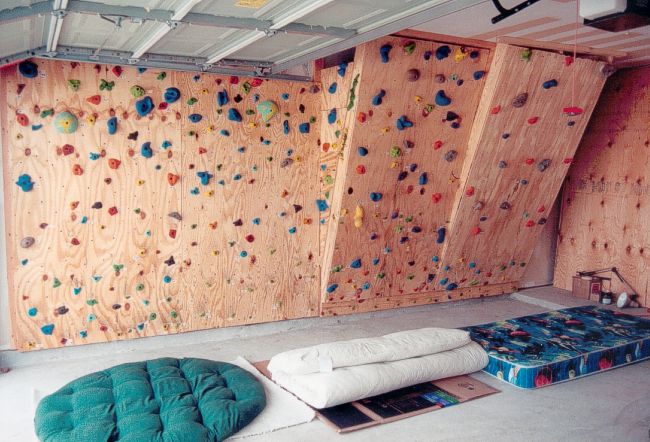
- 8' high, 20' long
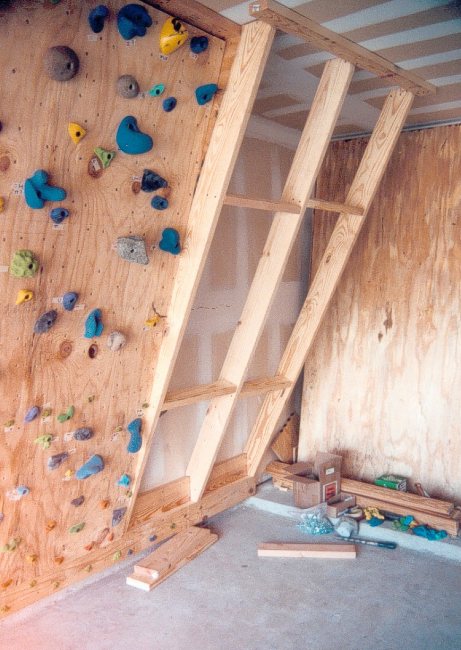
- 2x6 vertical supports ("stringers") for the overhanging/declining sections with 2x4 cross members for stiffness
- 115-160 T-nuts/holes per panel
- Built in July through September, 2005
- I spent 40 hours building this wall.
- I wanted to construct a roof section, but never got around to it.
- Climbing holds from:
- Petrogrips
- Groperz
- GR holds
- Franklin
- Metolius
- Entre Prises
- Passe Montagne
Climbing Wall Photos
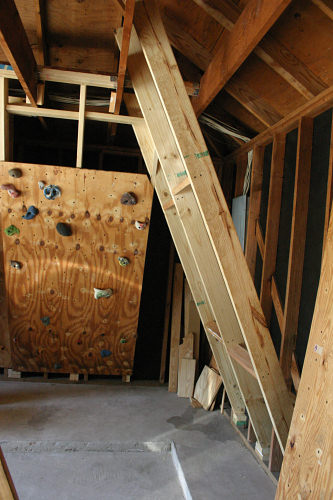
Framing and Construction of Our Home-made Rock Climbing Wall
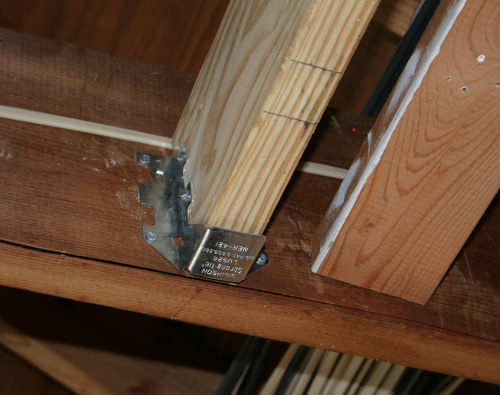
Rafter brace
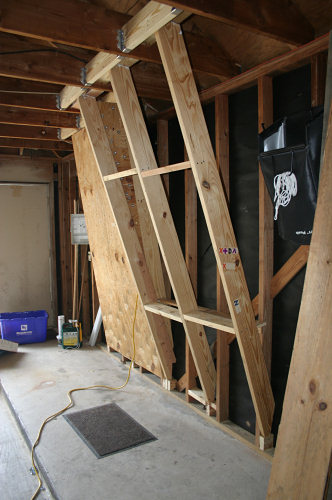
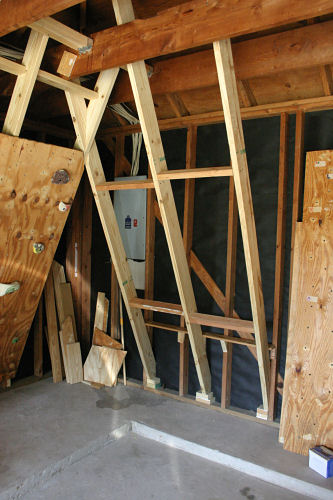
Stringer framing
Walkway behind the wall
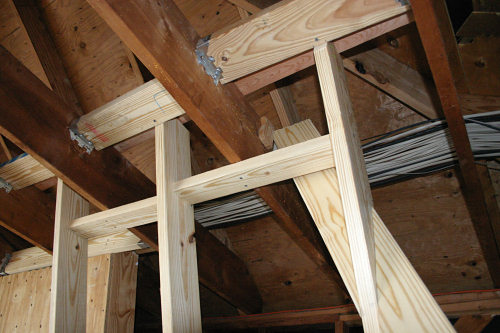
Stringer framing at rafters
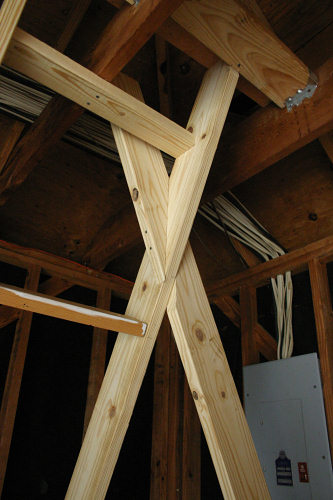
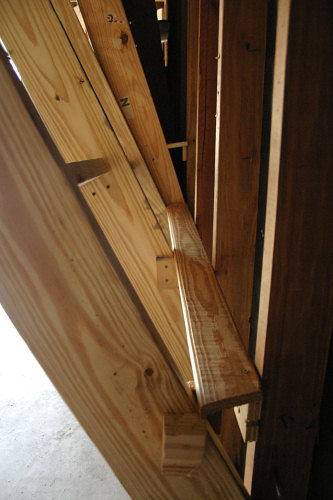
Corner framing

Stringer framing at rafters
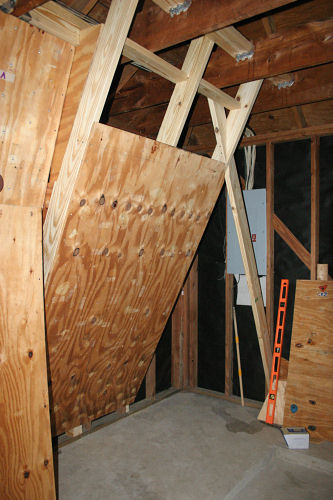
Partial paneling
Climbing wall corner framing
Corner framing
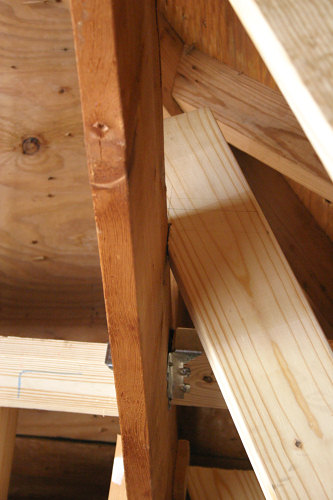
Stringer framing at rafters
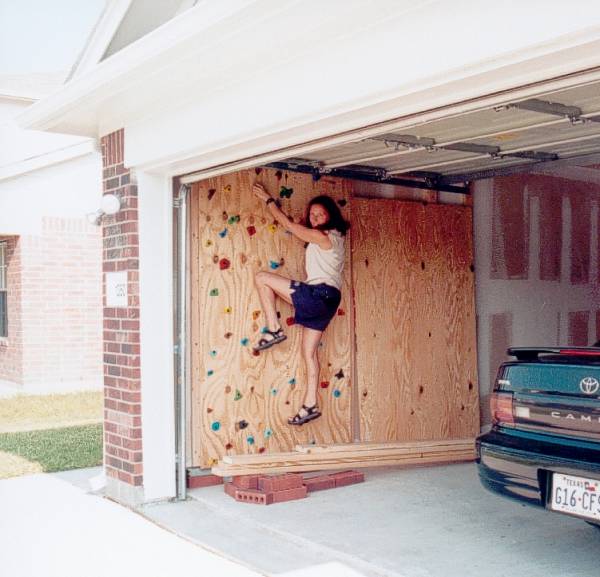
Climbing On the Wall
- Climbing Wall Video (6 MB) (on our old wall at our former house)
Advice
In the past, I recommended "Home Climbing Gyms, How to build and use" by Randy Leavitt, which was available through Climbing Magazine. However, I think this book is now out of print.
What follows is some advice to someone who emailed me... I'll try to put other advice as I think of it. Some of this is probably "duh", but some of this may not be obvious depending on your climbing experience/carpentry experience...
- Steeper (more overhung) is probably better, especially if you climb at 5.10 or above. The better the climber, the steeper the wall should be -- and smaller the holds.
- Dihedrals on less than 30 degree overhang is probably a bad idea, because it creates a situation where you can stem and thus rest. The point of the wall is to climb, not rest.
- Overbuild it from and engineering/structural perspective. At least for me, I want the peace of mind knowing all of this isn't going to come down on me when I climb on it.
- If you have a 2.5 car garage, build the wall on the side with more room away from the garage door rails. This allows for more overhang earlier in the wall.
- Make sure your holes for the T-nuts in the plywood are straight (perpendicular to the plane of the wood). It's hard to put on a hold when the holes aren't straight. The bolt/T-nut could also get cross-threaded.
- Predrilling holes makes the screws go in easier and will cause less splintering and cracking of the wood. Don't make the holes too big! The screws need to be able to bite aggressively.
- I made most of the connections with screws so I could easily take it apart if needed. We live near Houston, so some of our wall panels double as window covers during hurricanes.
- I bought lots of holds with lots of variation. I think this makes the climbing much more enjoyable. Unfortunately, that's the expensive part. I think we have well over $1000 worth of holds.
- Put together a climbing night with friends. This helps with motivation. Maybe also once every couple of months, hold a new route night where new routes are put up by anyone.
- I make people who I let climb on the wall sign a waiver. I'm not a structural engineer and who knows what could happen? It's still somewhat dangerous and a hold could spin, splinters can happen, etc...
- I use masking tape and about 7 different color permanent markers to mark the tape to mark routes.
- A laser pointer helps point out holds.
- I filed down and sanded all the plywood edges once the plywood was on the wall.
- I put little footboards behind the wall so I can walk behind the wall. I use the backside for a little bit of storage.
- Climbing holds will loosen when humidity is low. I go around and tighten the holds when the humidity gets lower than what its been.
- I found that keeping the design simple and easier to build is no real loss to the utility of the wall. So for example, I didn't design in aretes, paint-on textures, etc...
- Single screw footholds spin. (I'm referring to the screw on kind, not the ones w/ bolts.)
- Use a rasp to knock down the splinters when drilling holes for T-nuts
- When drilling holes for T-nuts, place the plywood outer side-up so the splinters will be on the back.
Let me know what you think:

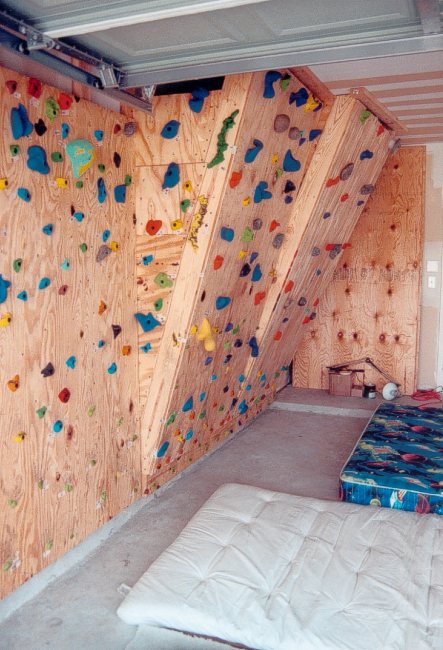
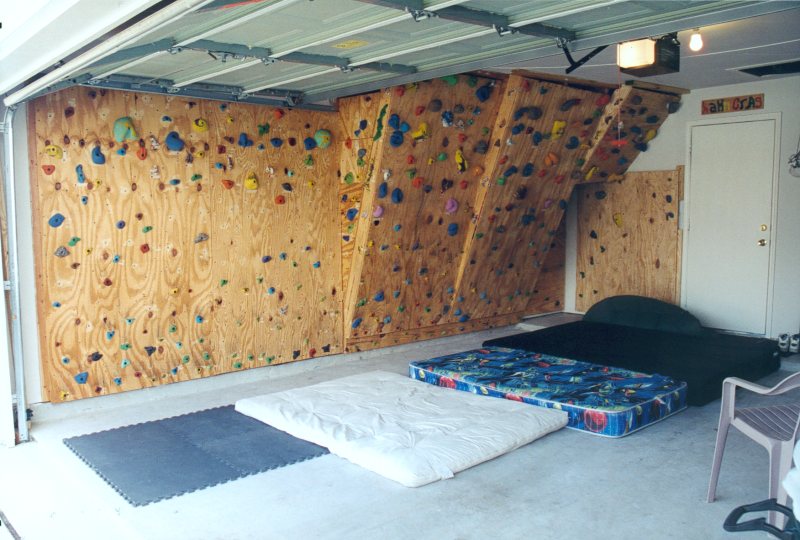
Old Climbing Wall Photos
Photos from the climbing wall at our former house.
Section 1
Section 3 framing

Section 3 framing close-up
Section 3 completed
Section 3 more holds
Section 4 framing
Section 4 finished
Section 4 showing angle
Section 5 finished
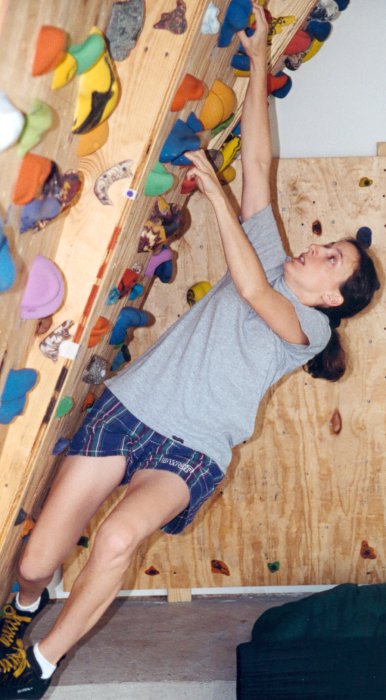
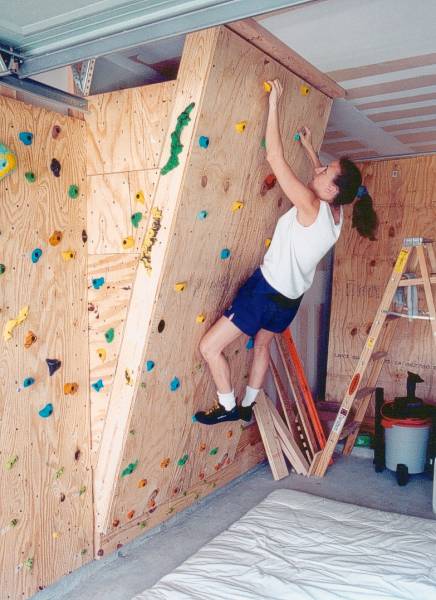
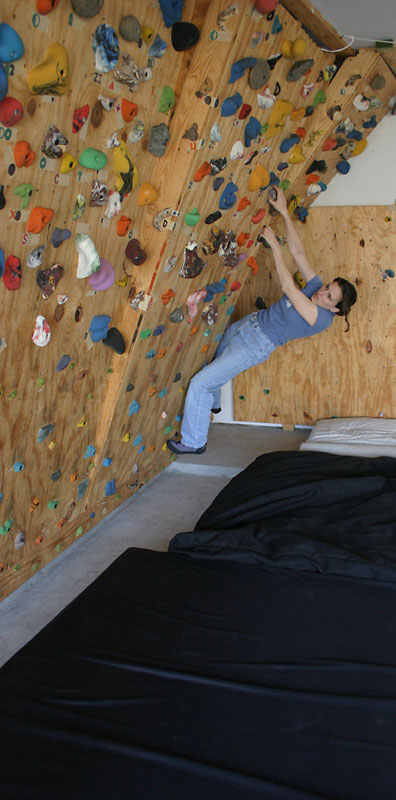
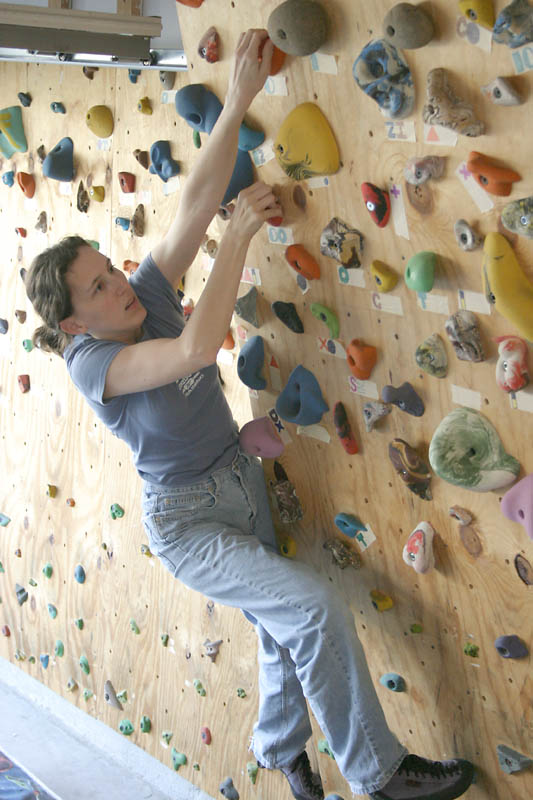
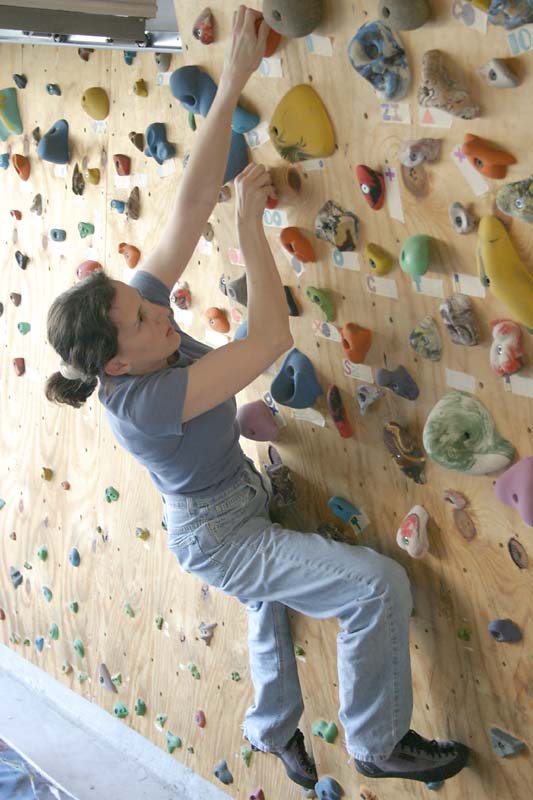
Heather climbing
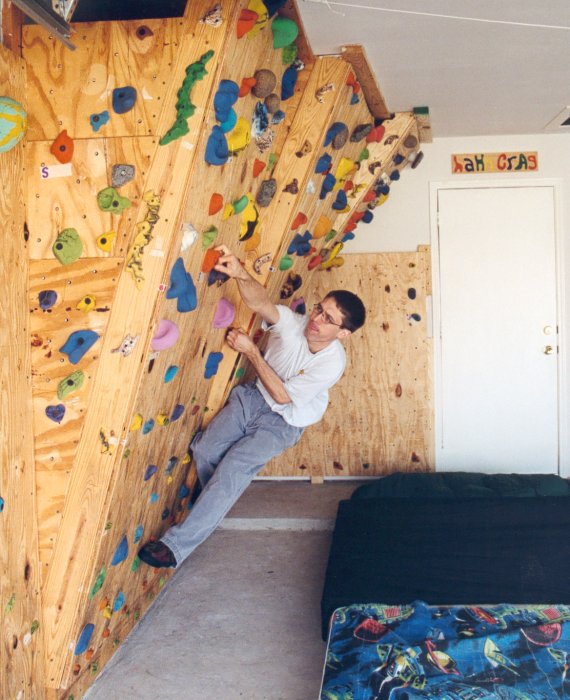
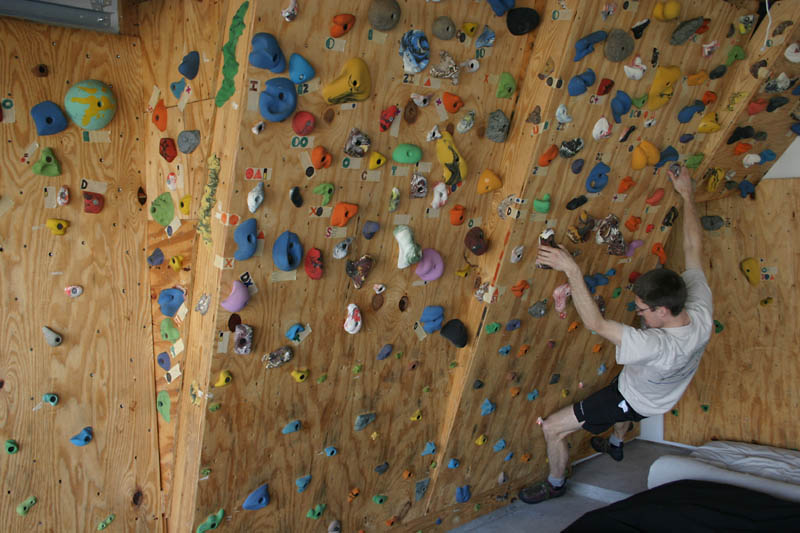
Todd climbing

The wall in February, 2004
Todd climbing (Feb 2004)
Heather climbing (Feb 2004)
Heather climbing (Feb 2004)
Heather climbing (Feb 2004)
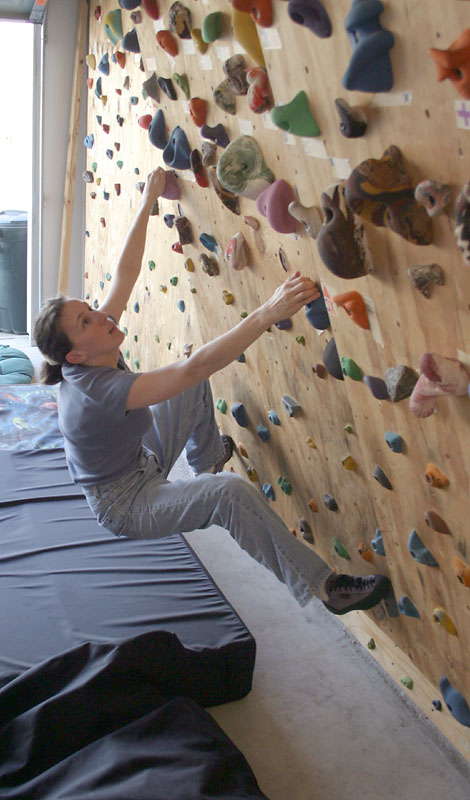
Heather climbing (Feb 2004)
Details of the old wall in our first house
- Formerly located in our two-car garage
- 1st - 4th sections built late-summer, early-fall of 2000; 5th section Septermber 2001
- About 30-35 hrs total to build
- 8' high, 19' long
- 8' wide vertical section, 4' wide 18 degree overhanging section, 4' wide 22-24.6 degree overhanging section, 30" wide 30 degree overhanging section
- 2x4 framing behind the vertical section
- 2x6 vertical supports ("stringers") for the overhanging sections with 2x4 cross members for stiffness
- 8' 2x12 backing plate behind 8' 2x6 kicker plate to rest the stringers on (overhanging sections only)
- 5 4'x8' panels of 3/4" CDX plywood
- 300 3" coarse thread drywall screws
- 300 2.5" coarse thread drywall screws
- 115-160 T-nuts/holes per panel
- About 445 holds were on the wall
- One homemade crash pad filled with old carpet padding (8'x5')
- Estimated cost: $1847. Breakdown:
- 460 climbing holds, $1020
- 6 sheets of 3/4" CDX plywood, $106
- 2x6 and 2x4 lumber, $150
- 650 drywall screws, $22
- 700 T-nuts $112 (Some holds come w/ T-nuts, so we have more than 700 T-nuts)
- Circular saw, $50
- Shop vac, $45
- Level, $8
- 7/16" drill bit, $5
- Cordless Big Boy Crash Pad, $300
